Many years ago I went to an exhibit in the MOMA – a room where everything appeared to be in black and white. It was shades of sepia rather than actual back and white, but the effect felt like being in an old movie. I recently became curious about how the effect was produced and decided I wanted to make my own monochromatic lamp.
The light we’re used to is usually a continuous mix of many different frequencies. For example, here’s sunlight, incandescent bulbs, and LEDs.
Our eyes perceive color by sampling light at different frequencies. If there’s only one frequency to sample, objects can only reflect different intensities of that one color.
The trick then, is to find a light source that puts out light a single frequency of light. For reasons I won’t get into, it’s fundamentally impossible to have light of a single frequency, but we can get light in a narrow band of frequencies.
It turns out that low pressure sodium (SOX) lamps output a very narrow range of frequencies, centered on 589 nanometers.

Here’s a red car and a black car under a SOX lamp. You’ll note they both look black.

So I set out to buy a SOX lamp.

Amazon had plenty of bulbs, but no lamps to put them in. I called six lighting distributors, one of whom told me that in his six years in the business he’d never ordered a SOX lamp. Eventually I got clue I needed: as long as the ballast I used had a matching ANSI code it should work.
I purchased a bulb, a socket, then found a ballast that looked like it might work. The transformer they sent me was a raggedy looking thing but I managed to decipher the attached schematic and wired everything up, and lo’ there was light.

Not wanting to leave high voltage wires sticking out all over the place I now needed a housing, so I modeled out a few options in the CAD mode of Fusion360.


I made an expedition to my favorite hardwood store and ordered an acrylic tube from McMaster Carr.
After a false start where I ruined a lovely piece of lacewood, I settled on cherry, fired up my double bevel sliding compound miter saw and got to work.
Most woods darken from sunlight. I wanted an even tan on my lamp, so after applying some Osmo Polyx oil I set my pieces to sunbathe on the roof.

After sunbathing, I also added four coats of spray lacquer.
Since the transformer was already big I designed the housing to fit fairly closely, which meant I had to Dremel some edges off.


Of course, despite the incredible care I took with measuring and remeasuring the edges of my hexagon did not meet. After a lot more sanding and fighting I eventually glued the sides together.


I now needed to drill a large, precise hole for the acrylic tube. Unfortunately, the cheap hole-saw drill bit I ordered turned out to be more of an oval than a circle so that wasn’t going to work. Finally, a chance to use the giant Shapoko XXL CNC router I’d recently finished assembling.

Watching this machine cut a perfect circle made me realize there must be a reddit community devoted to CNC porn. I was right.
Since the acrylic from McMaster was clear, I took it outside and power sanded it with a fine grit to make it frosted.
With the lamp completed, it was time to test it out.

Using a hand-held spectroscope I first looked at the frequency breakdown of a white LED and saw the typical blur of color you see in rainbows.
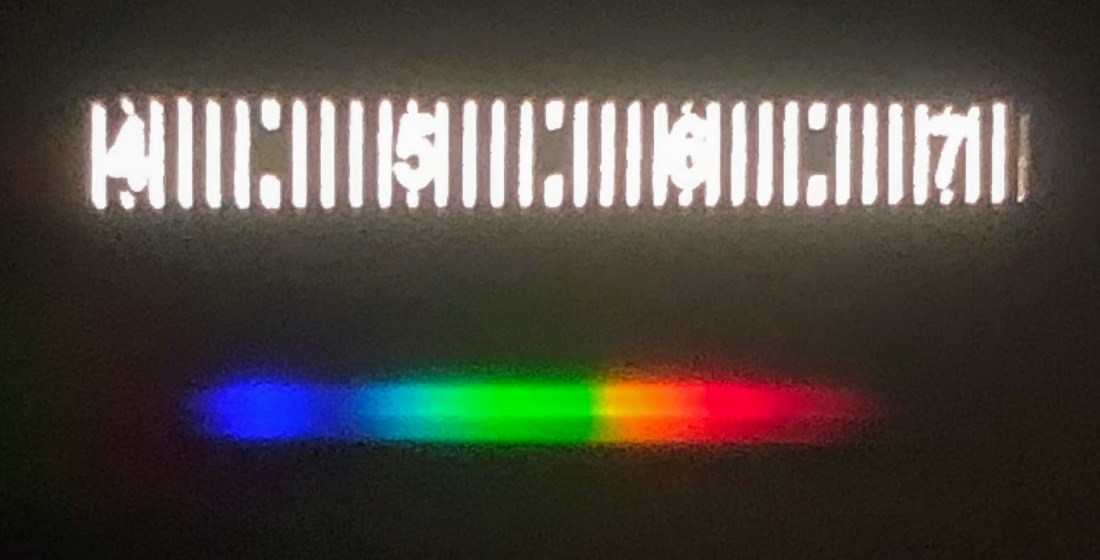
Then I looked at the sodium lamp. There was the main band at ~589nm.

It works!